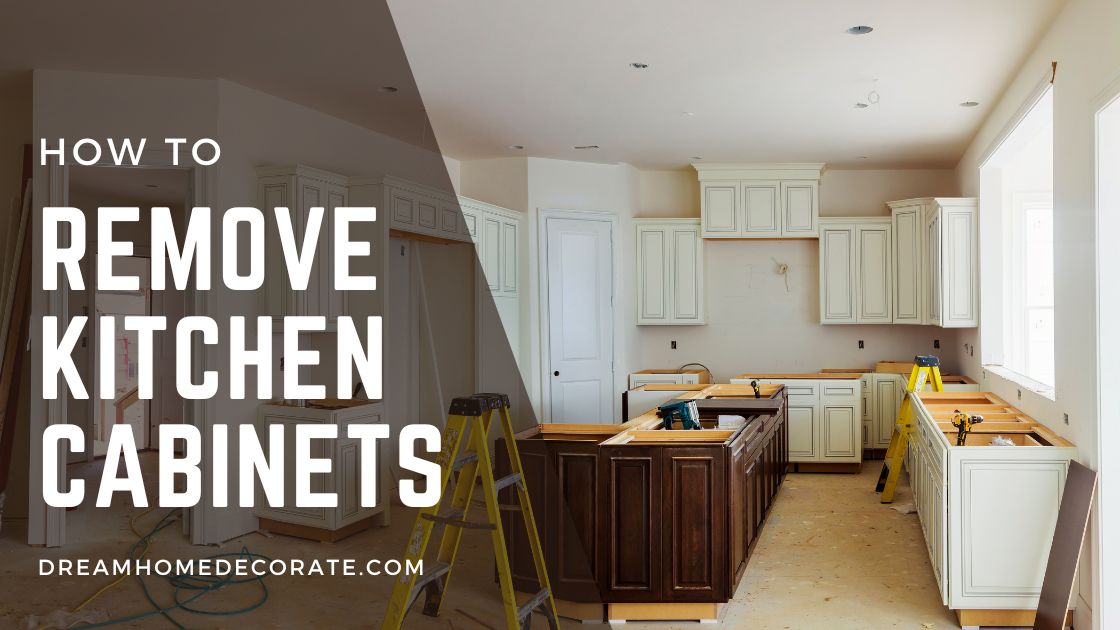
Would you like to know How to Remove Kitchen Cabinets? Is your kitchen long due for a renovation? We hear you; now that everyone is spending more time at home, we can’t help but notice and most likely pick apart every inch of the house we are not happy about. The kitchen cabinets are a big one. The reason why today, we’ll be sharing with you everything you need to know about how to remove kitchen cabinets.
Removing kitchen cabinets is an essential part of a kitchen renovation. Though it may seem like an intimidating task, especially when dealing with those old cabinets that have sat there for decades, in reality, you need to reverse the steps followed when your cabinets were installed.
With the right tools and the right guidelines, you’ll be able to remove kitchen cabinets in no time. Now that you know removing cabinets is possible is time to learn about the actual process. Peel your eyes and take note of the steps below, and you’ll be a pro at how to remove kitchen cabinets.
How to Remove Kitchen Cabinets
Cabinet Removal Prep
- Tools. Most of the tools you need to get rid of your cabinets are found in your basic toolbox.
Prep the Area. Empty your cabinets, clear everything from the countertops, shut off utilities to the kitchen and cover the floor and countertops with tarps. - Disassemble Cabinet Fixtures. It’s time to disassemble the cabinets. Start with anything that might move or get in the way when you remove the cabinets’ body, including doors, shelves, and drawers.
- Take Off Trim and Seals. For caulk: Use a utility knife to sever the connection between the cabinet and other surfaces. Use a hammer to wedge your pry bar behind the trim and pull it away for molding and trim.
Remove Upper Cabinets
- Place Supports. These supports aren’t intended to hold the cabinets in place forever. They are to help for a moment if your hand slips as you pull the cabinets off the wall.
- Detach Cabinets from each other. Look at where your cabinet touches another one to see if there are any fasteners. Once you’ve located the screws, this step is as simple as unscrewing them.
- Unfasten Cabinets from the wall. There are two standard ways they are secured: screws and glue. Luckily, determining what type of cabinet you’re dealing with is as simple as looking. If you see screws, you need to remove them. If you don’t see screws, the cabinets are most likely glued.
Remove the Cabinet. Gently lift the cabinet upwards and then pull it away from the wall.
Remove Lower Cabinets
- Lift Out the Sink. Grab your wrench and utility knife and get started. Then, unhook all the pipes that lead to the sink. After that, use your utility knife to slice through any caulk attaching the sink to the cabinet or countertop. Then, unscrew the sink and lift it out.
- Remove Countertops. Unscrew the countertop and use a utility knife to cut the countertops away from the caulk. Then, lift it off the cabinets and move it out of the way.
- Detach Piping. Cut the side panel so that there is no wood between the pipe and the wall, which will allow you to slide the cabinet out around the pipe. If the cabinets have a back, you’ll need to use your wrench to detach and remove the pipes.
- Unfasten and Remove Cabinets. Unscrew them from their neighboring cabinets and then detach them from the wall before pulling them out.
Recommended Tools to Remove Kitchen Cabinets
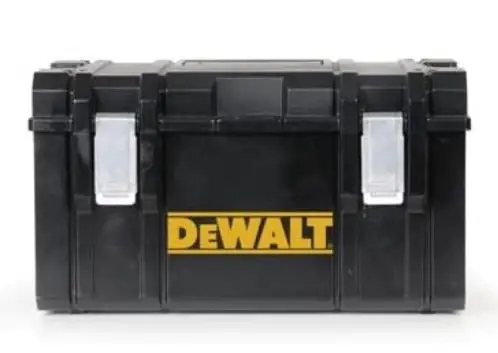
DEWALT Tool Box, Tough System
Sized perfectly for large tools, the DEWALT ToughSystem Large Case has a deep removable tray designed to fit a cordless tool battery and charger.
It features an integrated water seal (IP65 rated) for protection from the weather, rust-resistant metal latches, and the capacity to hold up to 110 lbs.
Side latches allow you to connect this unit with other ToughSystem modules, and it can also be loaded onto the ToughSystem Trolley using the adjustable brackets.
Features:
- Modular storage solutions for any job
- Stackable with other ToughSystem modules
- It can be carried on the ToughSystem trolley

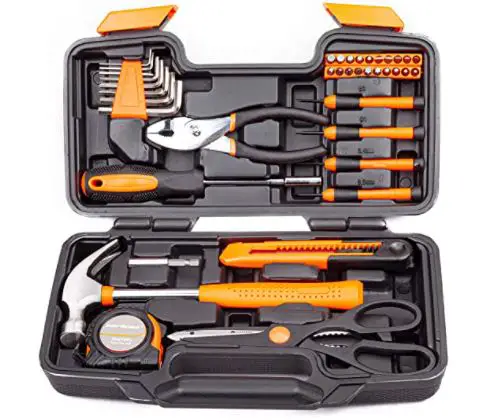
CARTMAN Orange 39-Piece Tool Set
The Cartman Tools 39-piece Orange Tool Set comes with attractive orange accents. It is heat-treated, and chrome plated to resist corrosion.
All the tools meet or exceed ANSI critical standards. It contains the tools needed for most household repairs. All tools are packed neatly in a self-contained durable molded case.
This tool kit is the perfect choice to accomplish your general purpose projects, repairs, and maintenance at home, garage, office, shop, or dormitory.

Features:
- High Quality
- Overall Tools
- Sturdy Storage Case
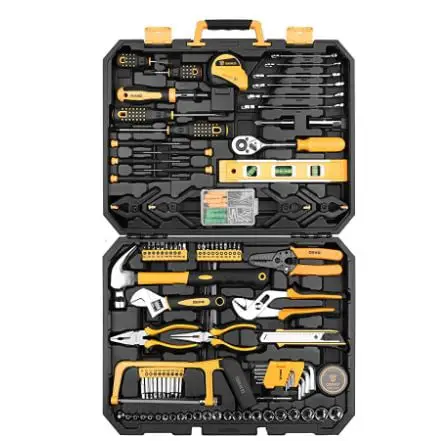
DEKOPRO 168 Piece Socket Wrench Auto Repair Tool
Forged from high-quality steel and finished in high-polish chrome, strength, durability, anti-corrosion protection. All the tools meet exceed ANSI critical standards.
Contains tools needed for most small repairs and basic DIY projects around the house. Perfect for Handyman’s, repairmen, construction workers, mechanics, body shops, etc. also a great toolset to have at home, garage, and the workshop.
Comes with a comprehensive assortment of professional-grade wrenches, ratchets, a complete range of 1/4 inch and 3/8inch metric-sized sockets, precision screwdriver, hammer, tape measure, pliers, wrenches, etc.

Features:
- Screwdriver set
- Pliers
- Hammer
- Utility Knife
Common Questions About How to Remove Kitchen Cabinets
Is it easy to remove kitchen cabinets?
If your cabinets are unitized or were installed with nails and glue instead of screws, you’ll need to use the hammer and pry bar to separate the cabinets from the wall.
The doors and drawers are the easiest place to start when you want to remove kitchen cabinets.
In some cases, the process of removing cabinets doesn’t require any special tools or equipment, is not a very time-consuming project, and requires minimal construction know-how. You can easily handle this project if you have a basic tool kit, an available weekend, and can lift 20-30 pounds.
Can you remove kitchen cabinets without destroying them?
The good thing is that cabinets fastened to the wall can usually be taken off without any damage, meaning you can reuse the cabinets if you want to. Remove the trim, disassemble the cabinets, and disconnect them from the walls one at a time.
How do you remove old kitchen cabinets?
- Prep Cabinets. Empty the cabinets to another room. Remove doors and drawers to another room.
- Remove Trim and Molding. Remove toe-kicks, trim, and molding around base cabinets and wall cabinets.
- Disconnect Utilities and Appliances. Turn off water to the sink. Remove supply lines to sink faucet and sprayer.
- Remove Sink and Countertop. Remove the sink. If the sink is being replaced, but the faucet is kept, remove the faucet first, then remove the sink.
- If you have cabinets suspended from the ceiling, you will need to remove these before you remove the countertop below.
- Unscrew Base (Floor) Cabinets at Stiles. Locate the screws or nails along with the stiles of the base cabinets.
- Remove Base (Floor) Cabinets. Remove the screws attaching the base cabinets to the wall and the floor.
- Remove Wall Cabinets. Remove screws along with stiles of wall cabinets. Then remove screws attaching the cabinet to the wall while your helper holds the cabinet in place. After removing the first couple of screws, gravity will want to help the cabinet down, damaging the wall and stud if not properly supported. With screws removed, slowly lower the cabinet and remove it from the area.
How are kitchen cabinets attached to the wall?
In most kitchens, cabinets are attached with screws through either the drywall or plaster into the wood stud behind. An installer will first locate the stud, mark the cabinet for the screw location and then lift the cabinet in place and install the screw.
How to remove cabinets attached with screws?
Starting at the bottom, work your way to the top as you remove screws with a drill or screwdriver. Remember to work on the final screws to support the cabinet so it does not fall once detached.
Be sure to look at the bottom and top of the cabinet to ensure there are no screws attached to a hidden lip.
How to remove cabinets that are glued?
Begin at the side of the cabinet and use a hammer to wedge your pry bar between the back of the cabinet and the wall. Do this in a couple of spots on the side to fully loosen the glue before repeating the process on the top and bottom of the cabinet.
As you loosen the glue’s hold, be sure to keep a tight grasp on the cabinet so that it does not fall.
Additional Tips on How to Remove Kitchen Cabinets
- If you have cabinets suspended from the ceiling, they will need to be removed before removing the base cabinets and countertop below.
- If you’re saving the cabinets, make sure you have a space cleared to store them or a vehicle ready for transportation for donation. If you’re tossing them, a 10-yard roll-off dumpster is a convenient option that comfortably fits in most driveways.
- Plates, silverware, pots, pans, and anything else stored in your cabinets must go before you start the job.
- Always double-check that the water is off. Turn on your kitchen sink and make sure no water flows out. Turn the valve further if water still flows from the sink.
- While removing the counters, you’ll be working around electrical outlets and may have to move some wires out of the way. Keep yourself safe by turning off the electricity in this area.
Would you also be interested ion learning the best and easiest ways How to Get Bubbles out of Resin?


